Tips for Grilled Cheese Greatness
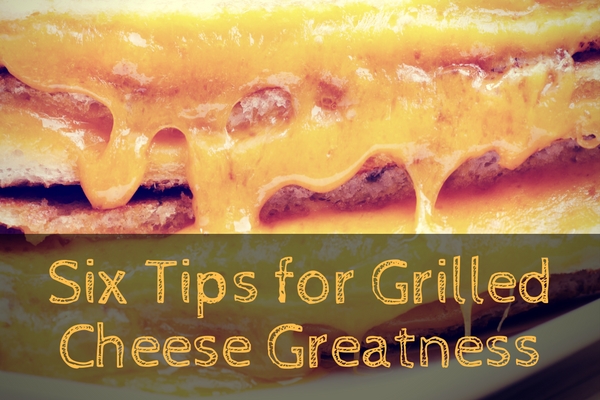
Grilled cheese sandwiches…I think we can all probably agree they are somewhere near the top of the list of perfect foods. Toasty, crunchy bread, oozy gooey melty cheese in the middle. Pair it up with a nice tomato soup and you’ve got yourself a pretty amazing meal right there. But as simple as grilled cheese are to make, there are a set of tips I’d like to share with you to help bring your grilled cheeses up a level and get consistent results every time. Here are my 6 tips for grilled cheese greatness:
1. Use a heavy pan
A great grilled cheese needs to be evenly heated so you don’t get scorched bread on the outside and unmelted cheese in the center. A nice heavy pan will hold heat more evenly and help reduce or avoid hotspots. Cast iron, a heavy-bottomed skillet of stainless steel or nonstick, or even an electric griddle will work great for grilled cheese sandwiches. Just try to avoid any pan with a very thin bottom.
2. Lower your heat
Making a grilled cheese sandwich isn’t a race, and it pays to take a few more minutes at lower heat to get the best results. Try to stick to the medium range on your dial and let the pan heat up before starting. Lower heat will also promote even browning of the bread and melted cheese. Heat too high and you’ll be approaching the burnt stage before your cheese even starts to get soft.
3. Bread is important
The truth is you can make a grilled cheese on any bread, but to get a truly great result you’ll need to be somewhat picky about your carb wrapper. In general dense, hearty and fresh bread is the best. Try to avoid bread that is light and fluffy (where you find a lot of “holes” in the face of your slices). French and sourdough both work well, and even some Italian varieties will do. One more thing, I like to avoid bread that has a “top and bottom,” like a bun; think ciabatta or focaccia. More on this in a moment.
4. Butter makes it better
I prefer butter to brown the bread. Some swear by mayonnaise, and it does work as well, but I think butter just adds a “cozy” flavor to the finished product. Softened butter is best, so let it sit out at room temp for an hour or so before using. If you don’t have time, you can put a cube of butter in the microwave and hit it with about 10-15 seconds to soften it up. Spread the butter all over evenly on the face of your two slices of bread.
5. Toast both sides of the bread
If you take nothing else away from this list, it’s this: nothing else will raise your grilled cheese game to the next level like toasting both sides of your bread. I like to put my slices in the pan and move them around a bit. When they are getting to the toastiness level I like, I butter the tops of the slices and flip them over. Now you should have the toasted sides up. Time to pile on your cheese and put the other slice on top, toasted side against the cheese. Not only will your cheese start melting quickly, but you will have another dimension of texture in the finished product. Flip the sandwich one and toast the last side of bread!
6. Last but not least, the cheese is king
Get Grilling!
How Not to Grill a Grilled Cheese
Skip ahead to 1:18 to see the grilled cheese section 🙂
Connect with The Kitchen Counter Podcast!
Facebook: https://www.facebook.com/kitchencounterpodcast
Twitter: @TKCpodcast
Email:
fe******@ki*******************.com
If you liked what you heard, please consider subscribing in iTunes. You can also help out the show by leaving a positive review in the iTunes store (you know you want to)!


Another tip I learned a few years ago is to mix in a little bit of your grated cheese into the softened butter that you spread on the bread. You don’t need much, but a small amount adds a nice touch to the sandwich. It creates a nice cheesy crust on the outside of the bread which contrasts nicely with the melted cheese inside.